Drop Images Here
OR Browse
You must be signed in to save Tees
Login Create Account Close

Great - Your item was added to your basket...

Another Item? (Continue Shopping) View my Basket & Checkout

Great - Your image was added!

Now just click / drag over the image to select it and move / edit.

Great - You can now add text...

Now just double click to change the text.

Great - Your preset design was added...

Now just click / drag over the image to select it and move / edit.

Oops - Our Designer isn't compatible with your browser...

We're sorry. We're still in development and our T Shirt designer currently isn't compatible with Internet Explorer.

Please use Safari or Chrome to make the best use of our designer.

Welcome to The Tee Club.

Ethical garments. Unlimited colours. No hidden charges. That'll never change.

The Tee Club Policy/Guarantee

  • Fast Delivery
  • High quality printing technology
  • Helpful service
  • Fair return policy

Need Help?

  • How to add text and choose text colour
  • How to choose a design
  • How to choose a garment
  • How to upload a photo

The Design Process

1. Choose Your Garment

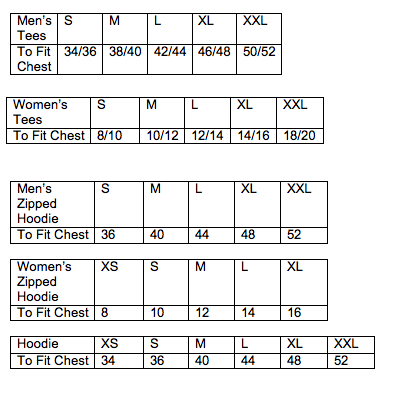
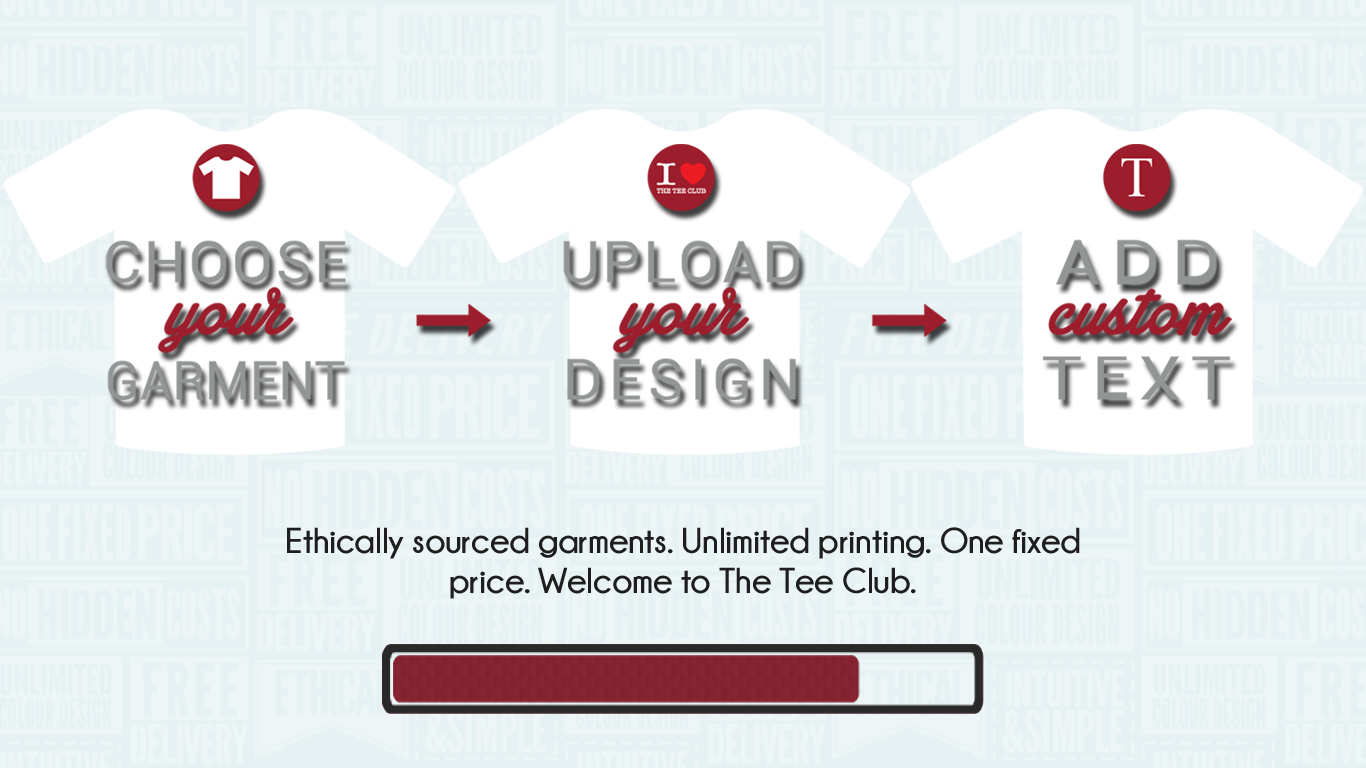
First step - choose a tee shirt or a hoodie and then the colour and you're ready to go.

2. Upload an Image or Edit One of Ours

Either upload your own image to personalise your garment or use one of our preset designs as the starting block for your creation! Please make sure you upload a high-resolution image to ensure the final print is good quality. If you're unsure about the resolution then read our guide below.

3. Add Text

Maybe you want to add a funny phrase to your image or you want the name of your club by itself; whatever it is use our text editor to add and edit text!

The Designer

Getting started, The top left panel - choose garment, upload image, preset designs, add text.

Choosing a garment.

Selecting a garment is easy. Click the choose garment button from the top left panel and you'll be given the 7 options in the menu. Take your pick, and it'll load onto the designer. Change the colour of you garment by selecting from the colour pallet on the right hand side.

Changed your mind? You can change your garment mid design and still keep the design you've been working on. You will need to reselect your garment colour, though.

Uploading an image.

Clicking upload image from the top left panel will load your image library. From here you can browse your device for the image you want to upload and get it added to your library ready to place on your garment. You can also drag and drop your image into the library.

Once you have your image in your library menu, you'll notice it will be given a star rating. This star rating is all important as it will give you an indication of the quality that image will provide when it goes to print. The higher the quality of the image, the better it'll print. Hovering over the image will give you further details on the image quality.

To add your image to your garment, simply click on it from your library. Depending on the file size, uploading the image may take a few seconds.

Once your image is on the garment you can move it around by clicking and dragging it to where it looks best. You also have the option to rotate, resize or remove. Select the image you'd like to edit by clicking on it. Now three icons will appear around the image. Rotate by clicking on the left corner and rotating, or resizing by clicking the bottom right corner. You also have the option to remove the image by clicking the top right cross icon once the image has been selected.

Using a preset.

If you're not sure where to start then we have a growing library of images in our preset designs. Select preset designs from the top left panel. From here it's the same as the uploaded image library. Click on an image to add it to the garment. Click on the image to load the editing options.

Too left corner to rotate, bottom right corner to resize, top right corner to remove.

Adding text.

Choosing the Add Text option from the left panel will allow you to click on the garment and start typing. Once you've typed the text you need you can change the font, size and text colour using the menu options that will load on the left.

In the menu you'll also find the option to make the text bold and/or italic. You can also position your text box on the left, right or centre by selecting the alignment options in this menu.

As with images click once to select a piece of text and you'll be given the options to rotate, resize or remove.

Typo? If you'd like to change what the text says later, a double click will reopen the text editor and allow you to type.

If you need more than one line of text you will need to add another text field. Selecting Add Text and clicking anywhere on the garment again will allow you type away just as before.

Starting fresh, The top right panel - New, Undo, Redo.

If you've made a mistake or you're unsure about a change you've made it can be reversed. Selecting the new option from the top right panel will load the garment designer afresh, and remove all of your design.

If you're only looking to reverse a few changes then the undo button may be your best option. Clicking undo from the top right panel will reverse the last change you made to your design. You can always redo the change by hitting the redo button from the same panel.

Adding something to the back?

To spin your garment around and add something to the back click the "back" button on the right hand side of the designer. If you're only adding to one side, you'll pay the single side price for that garment (£14 for tees, £22 for everything else). If you're adding to both sides, then you'll be paying the double sided price (£17 for tees, £25 for everything else).

The colour pallet beneath the back/front buttons updates with the colour choices for the garment you choose. Selecting a colour will change the colour of the garment in the designer. The selected colour will be highlighted with a blue outline in the colour pallet.

Checking out, The bottom right options.

You'll notice the Add to Basket button will be faded out when you load the designer. Before checking out, you'll need to choose a size using the buttons on right, the Add to Basket button will then become available to click.

Sizes for all the garments can be found by hovering over the Size Chart button directly beneath the size options.

Note that you will need to confirm the rights for any images you've added and confirm that you're aware of the image quality rating we've provided before adding the the garment to your basket. Once that's done you'll be given the option to create more or checkout. You'll see a preview of each of your designs in the cart.

Right click - Copy & Paste, sending items forward or backward

Clicking right on an image loads a few extra options for moving images on the designer. You'll be given the option to copy and paste images, delete images from the garment and move the image relative to others on the garment.

Bring forward will bring the image forward above the item that's currently above it. Sending it backward will do the opposite. Bring to front will place the image above all others, and sending to the back will place it behind every other item that's currently in the workspace. You'll notice that there are shortcuts for each of these in the right click menu, and also the option to group/ungroup images together/apart.